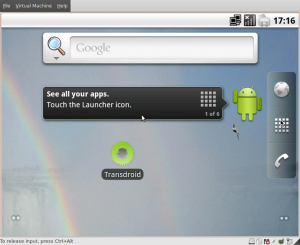
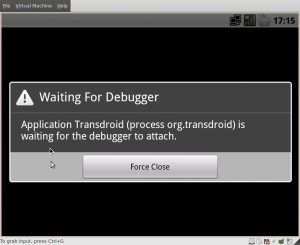
 A small technical writeup here about a nice Android development issue I just found out: it’s possible to use an Android 2.2 x86 virtual machine as debugging device for Android development.
First of, why? I often find debugging against a real device doesn’t suit my needs. I have to switch to different devices too often, for one. Testing witwith the SDK emulator works fine, especially to test different configurations. It can be slow, though, in particular when connected to a debugger. A new option – one I just realised might just be possible – is debugging against a virtual machine instead. Depending on the software and your hardware it often even bypasses your host OS. Here is what I did.
Head to the Android x86 project website and download their Android 2.2 generic purpose ISO file. Next, open your VirtualBox or VMWare Player software and create a new virtual machine. Use the downloaded ISO file as startup/install mount. VMWare said to me it’s a FreeBSD system and I accepted this choice. I did set the HDD to 2GB (which is too much, actually).
Start up your new virtual machine and install it locally. Now I’m not sure you can create the needed partitions here using the installer (I messed around a little with the partitions manually first) but I believe you can. Don’t forget to let it create a virtual SD card as well. Now restart and Android should start just fine!
 Now open the browser to see if you’ve got network. I set the virtual machine to use NAT mode. Everything okay? We need to find the IP of your device. Use Alt+F1 to open a terminal in the virtual machine and in this Busybox shell enter ‘ifconfig eth0’. This is the IP that adb will connect to. Hit Alt+F7 to go back to Android. Open a terminal on your host computer and run ‘adb connect ‘. It should say ‘connected to :5555′ now. If not, try killing and starting your adb server. If it does connect it still doesn’t necessarily show up in ‘adb devices’! Don’t worry. Try to push a file and see if it works – it should.
Finally start Eclipse or whatever you use and start debugging your app! (Don’t forget to allow application installs from external sources in Android.) Pretty cool huh? Note: I just tested this on my Ubuntu 10.10 machine with VMWare yet.
Next time I’ll write about Transdroid again, promise! 🙂 Did I say a new release was coming soon?
 A small technical writeup here about a nice Android development issue I just found out: it’s possible to use an Android 2.2 x86 virtual machine as debugging device for Android development.
  Now open the browser to see if you’ve got network. I set the virtual machine to use NAT mode. Everything okay? We need to find the IP of your device. Use Alt+F1 to open a terminal in the virtual machine and in this Busybox shell enter ‘ifconfig eth0’. This is the IP that adb will connect to. Hit Alt+F7 to go back to Android. Open a terminal on your host computer and run ‘adb connect